
Editing Secrets
Have you ever captured what looked like a perfect portrait, only to find strange color streaks or rainbow-like patches across your subject’s clothing? That frustrating phenomenon is called moiré—and in today’s quick tip tutorial, I’ll show you exactly how to get rid of it in Photoshop using Camera Raw’s Moiré Reduction tool.
Moiré (pronounced “mor-ray”) occurs when your camera sensor struggles to capture fine, repeating patterns, like:
Pinstripes
Crosshatched fabrics
Architectural details (thin lines, grids, etc.)
Instead of recording the pattern accurately, your camera introduces color anomalies—unwanted magentas, greens, blues, or yellows that distort the image.
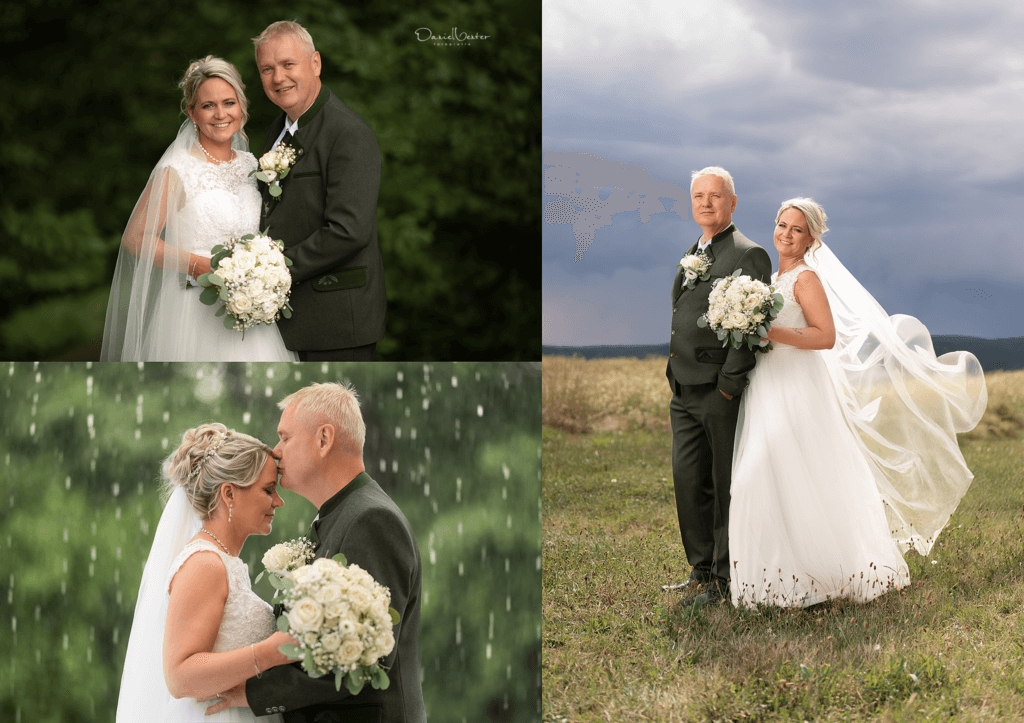
In my example, this happened in a father’s grey pinstripe waistcoat, where the vertical and horizontal lines caused random color splotches.
Let’s jump into how to clean it up:
Press Cmd+J (Mac) or Ctrl+J (Windows) to work non-destructively.
Go to Filter > Camera Raw Filter.
Inside Camera Raw, select the Masking icon, then choose the Brush Tool.
Turn on Show Overlay (default is red) so you can see where you’re painting.
Ensure Auto Mask is checked — this helps Photoshop stay within the waistcoat area.
🖌️ Now, carefully paint over the areas showing moiré. In my case, I included the waistcoat and even the tie, since it had similar patterns.
Scroll down to the Detail section and expand it.
Locate the Moiré Reduction slider and increase it:
158+ in-depth classes on light, colour, direction and composition — the exact process behind 13 years of paid client work.
Try 50 first, then go up to 100 if needed.
💡 At 100, all the color distortion in the fabric disappeared—no more green streaks or magenta fuzz.
Hit OK and compare the before and after.
Toggle the visibility of your duplicated layer to see just how much cleaner and natural the fabric looks.
Moiré isn’t limited to waistcoats. You might encounter it in:
Groom’s suits with pinstripes
Dresses or ties with textured fabrics
Buildings with fine architectural lines
This fix is quick and powerful, especially when you want your portraits to look polished and free of visual distractions.
This was just a quick fix, but if you want full-length, in-depth tutorials on portrait retouching, lighting, editing, and more, I’d love to invite you to join my Photo Education by Daniel Membership.
Inside, I cover everything from weddings to newborns, helping you become a confident, skilled portrait photographer across genres.
Thanks for tuning in! I hope this tip helps you keep your edits clean and your subjects looking their best.
See you in the next session!
— Daniel from Photo Education by Daniel
Fixes like this are one small part of the complete shooting-to-edit process I teach inside the Creative Portrait System.
Lifetime Access
The complete light, colour, direction and composition system behind 13 years of paid client work. 158+ classes. 6,000+ photographers inside.
New
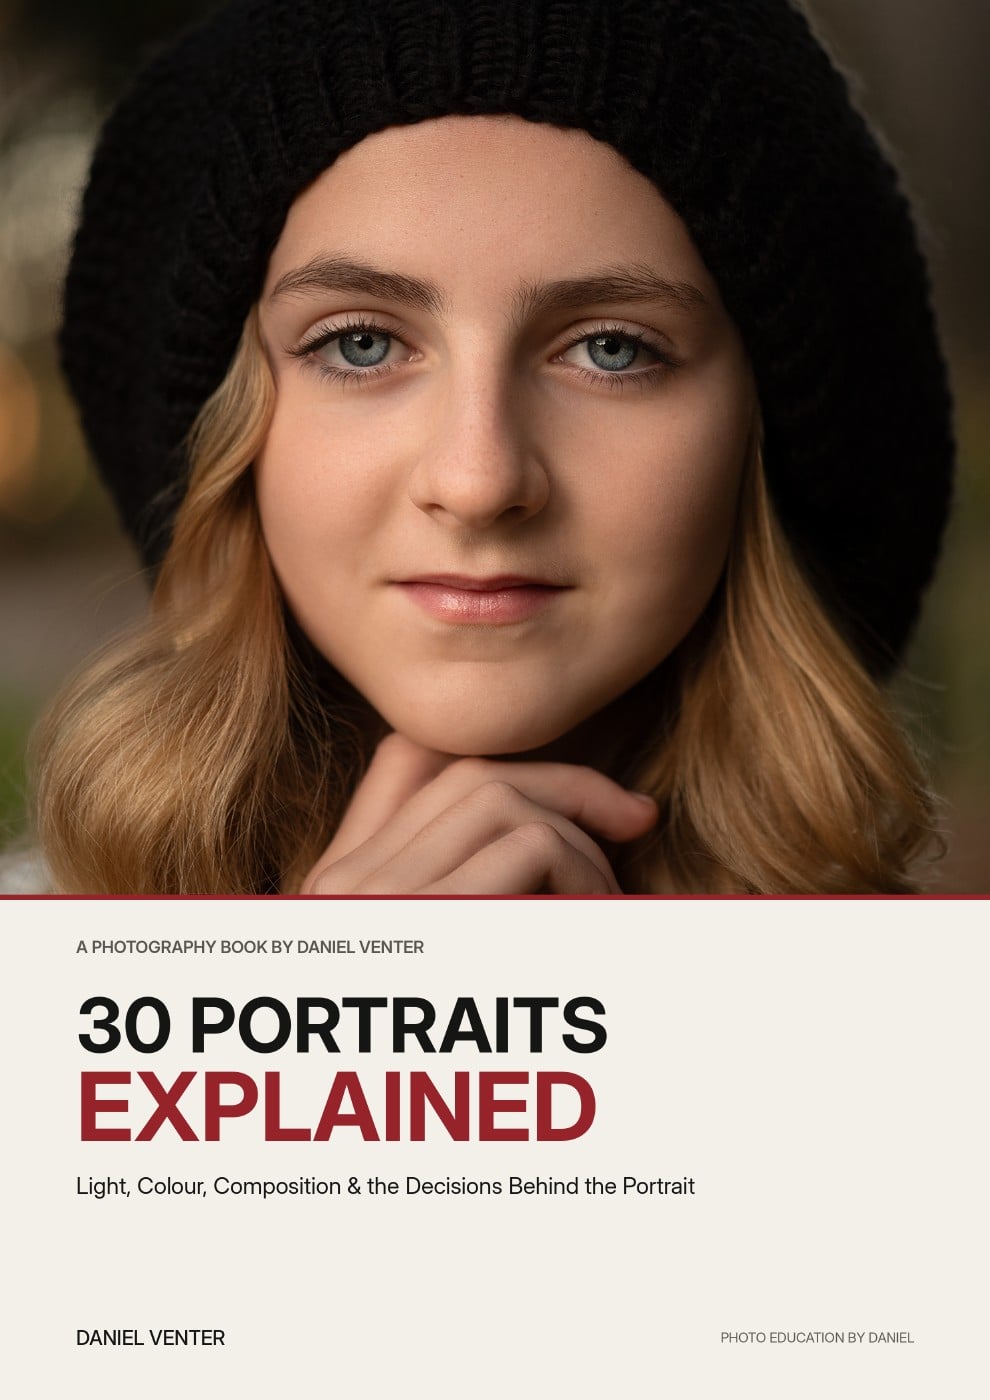
Thirty finished portraits. Thirty complete breakdowns of the light, colour, composition and decisions that shaped them.
Get the Ebook — $29
Free
Grab a free guide and preview the exact process taught inside the full system.
60 minutes, 1:1, on your actual portfolio — plus a written action plan.