
Natural Light Portrait Photography: How to Find Light That Works
A beautiful location does not automatically give you beautiful portrait light. You can stand in a lovely park, put someone in front of a soft background and still end up with a face that looks flat, eyes that lack life, or skin picking up the color of everything nearby.
When I choose somewhere to photograph a portrait, I look at what the light is doing to the person. The scenery comes into the decision, but it cannot do that job for me.
My approach to natural light portrait photography starts with finding useful light, positioning the subject within it and choosing a camera angle that brings the whole image together. These are decisions you can practice whether you photograph your family, create portraits for yourself or work with clients.
Look for direction as well as softness
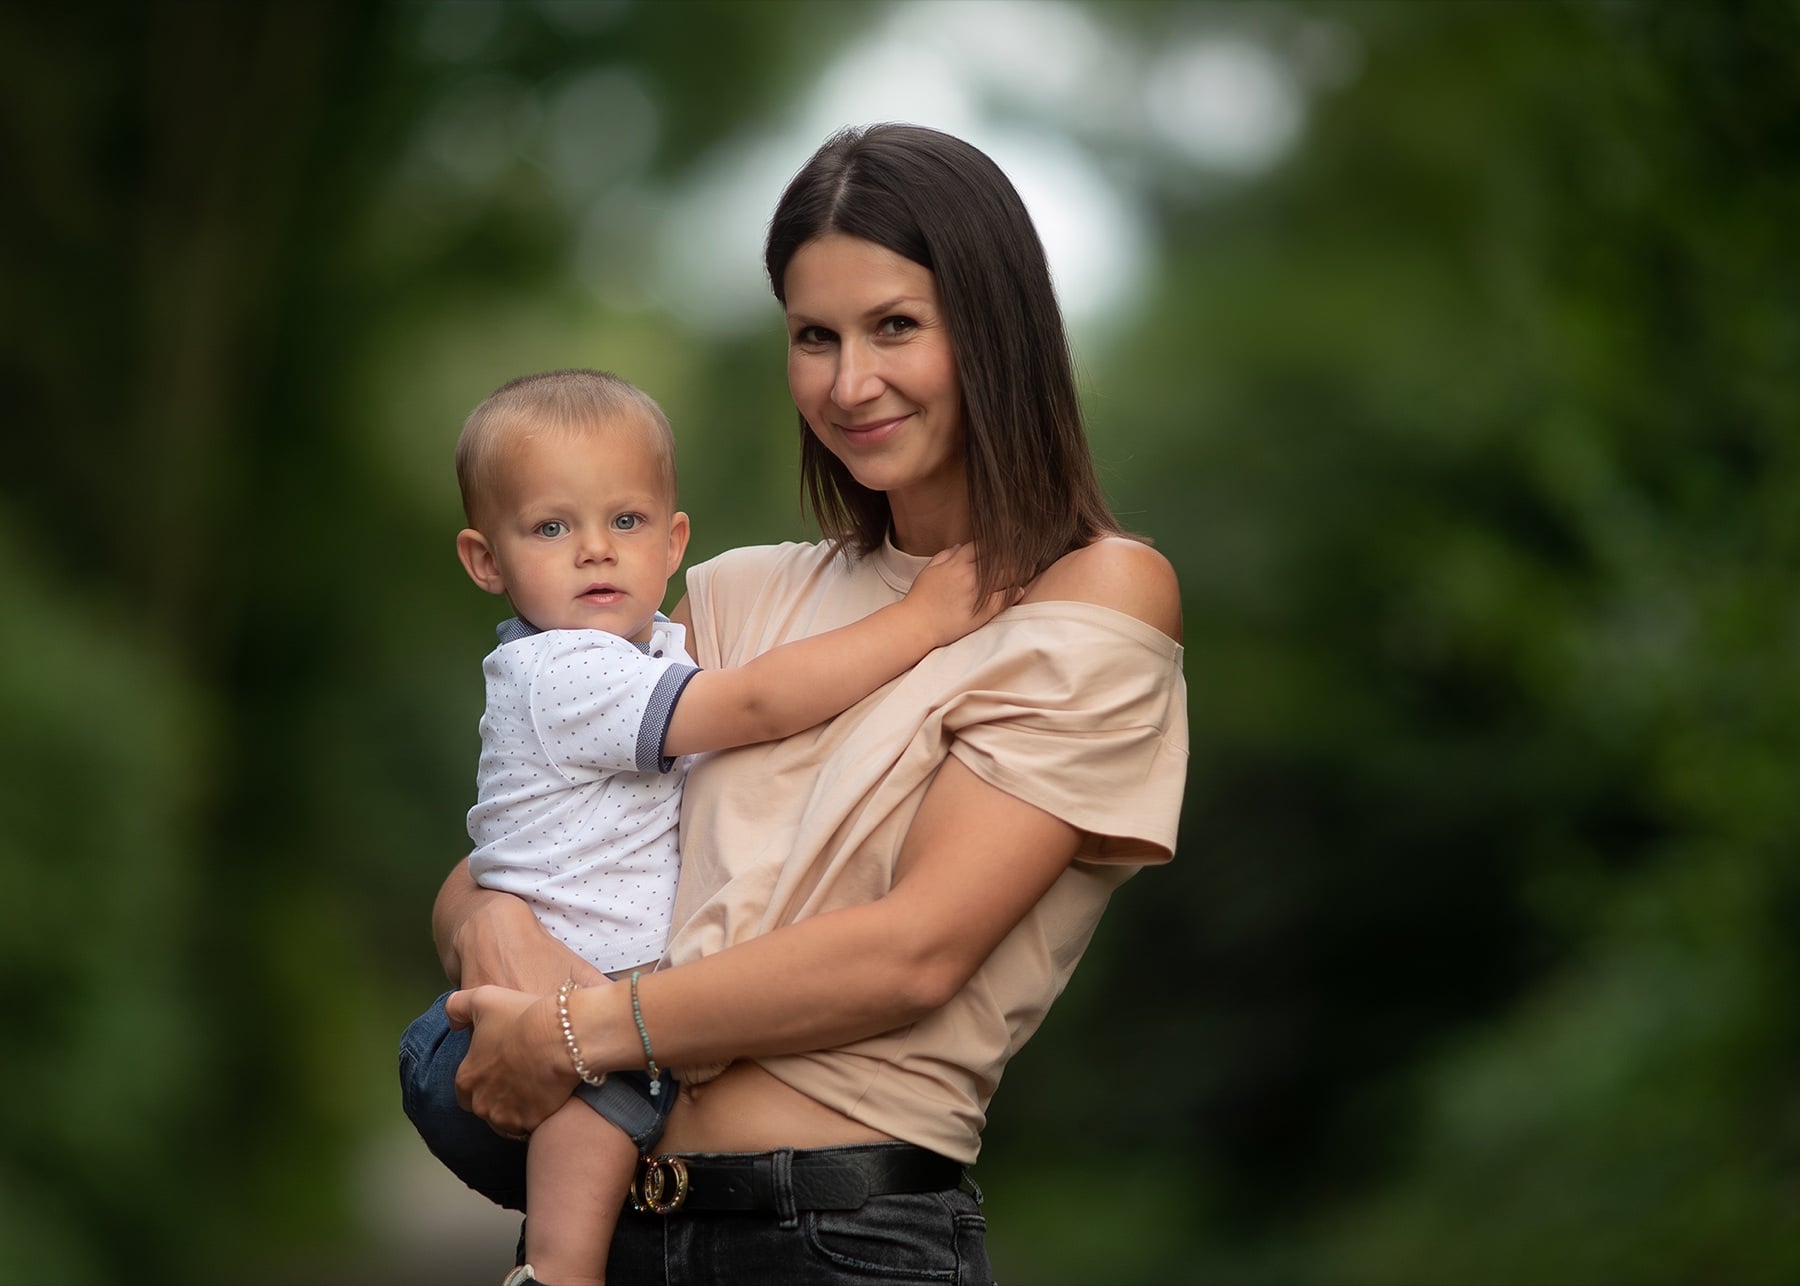
Soft light and directional light describe different things. Softness is about the transition between light and shadow. Direction is about where that light comes from in relation to the face.
A face can be softly lit and still have very little visible shape. That often happens when light reaches it fairly evenly from several directions, or when the main light is close to the camera axis. Neither is automatically wrong. But if you want the depth you see in my portraits, pay attention to the difference between the illuminated areas and the shadows.
Watch the cheek, the side of the nose and the area beneath the chin. A gentle transition across those areas can give the face dimension without making the portrait look harsh.

Find an opening to the light
I often think of a location as a room of light. There may be no actual room, but a wall, a porch, a tree line or a building can limit light from some directions while leaving an opening toward a brighter area.
Imagine someone standing near the edge of a covered porch. The roof reduces the open sky above them, while the opening in front allows light onto their face. Turn them slightly and watch how that relationship changes.
This is a way of reading the environment, not a rule that every porch produces good light. The depth of the cover, surrounding surfaces and position of the sun all matter. A brightly painted wall can also introduce a color cast.
In A Portrait of Brothers, I photograph a sibling portrait on my doorstep and explain the light, surrounding color and shooting decisions before moving through the edit.

Examine the light on the face
Before getting absorbed in settings, look at the eyes. Can you see a reflection of the bright opening? Are the eye sockets too dark? Is the forehead catching much more light than the rest of the face?
A catchlight helps you see how a light source is reflected in the eye, but it is not a complete test of good portrait light. You still need to look at the shadows and the expression.
Ask the subject to turn a little toward the opening, then a little away. Watch what changes before you take the photograph. Small adjustments are easier to understand when you make one at a time.
Choose a background that supports the subject
Once the face is working, look around the rest of the frame. Bright gaps between leaves, a pale tree trunk or a line through the head can compete with the person you are photographing.
I often use a darker background because it helps a lit face stand out. That does not mean every background must be dark. What matters is the relationship between its brightness, color and structure and the subject in front of it.
Move your camera slightly left or right. Try a different height. You may be able to remove a distraction without moving the subject out of the light you just found.
Inside the Creative Portrait System
This is one piece of a bigger creative system
158+ in-depth classes on light, colour, direction and composition — the exact process behind 13 years of paid client work.
Background blur can help simplify a scene, but a blurred bright patch can still be distracting. Evaluate the frame itself rather than assuming a wide aperture has solved everything.
Watch the colors around your subject
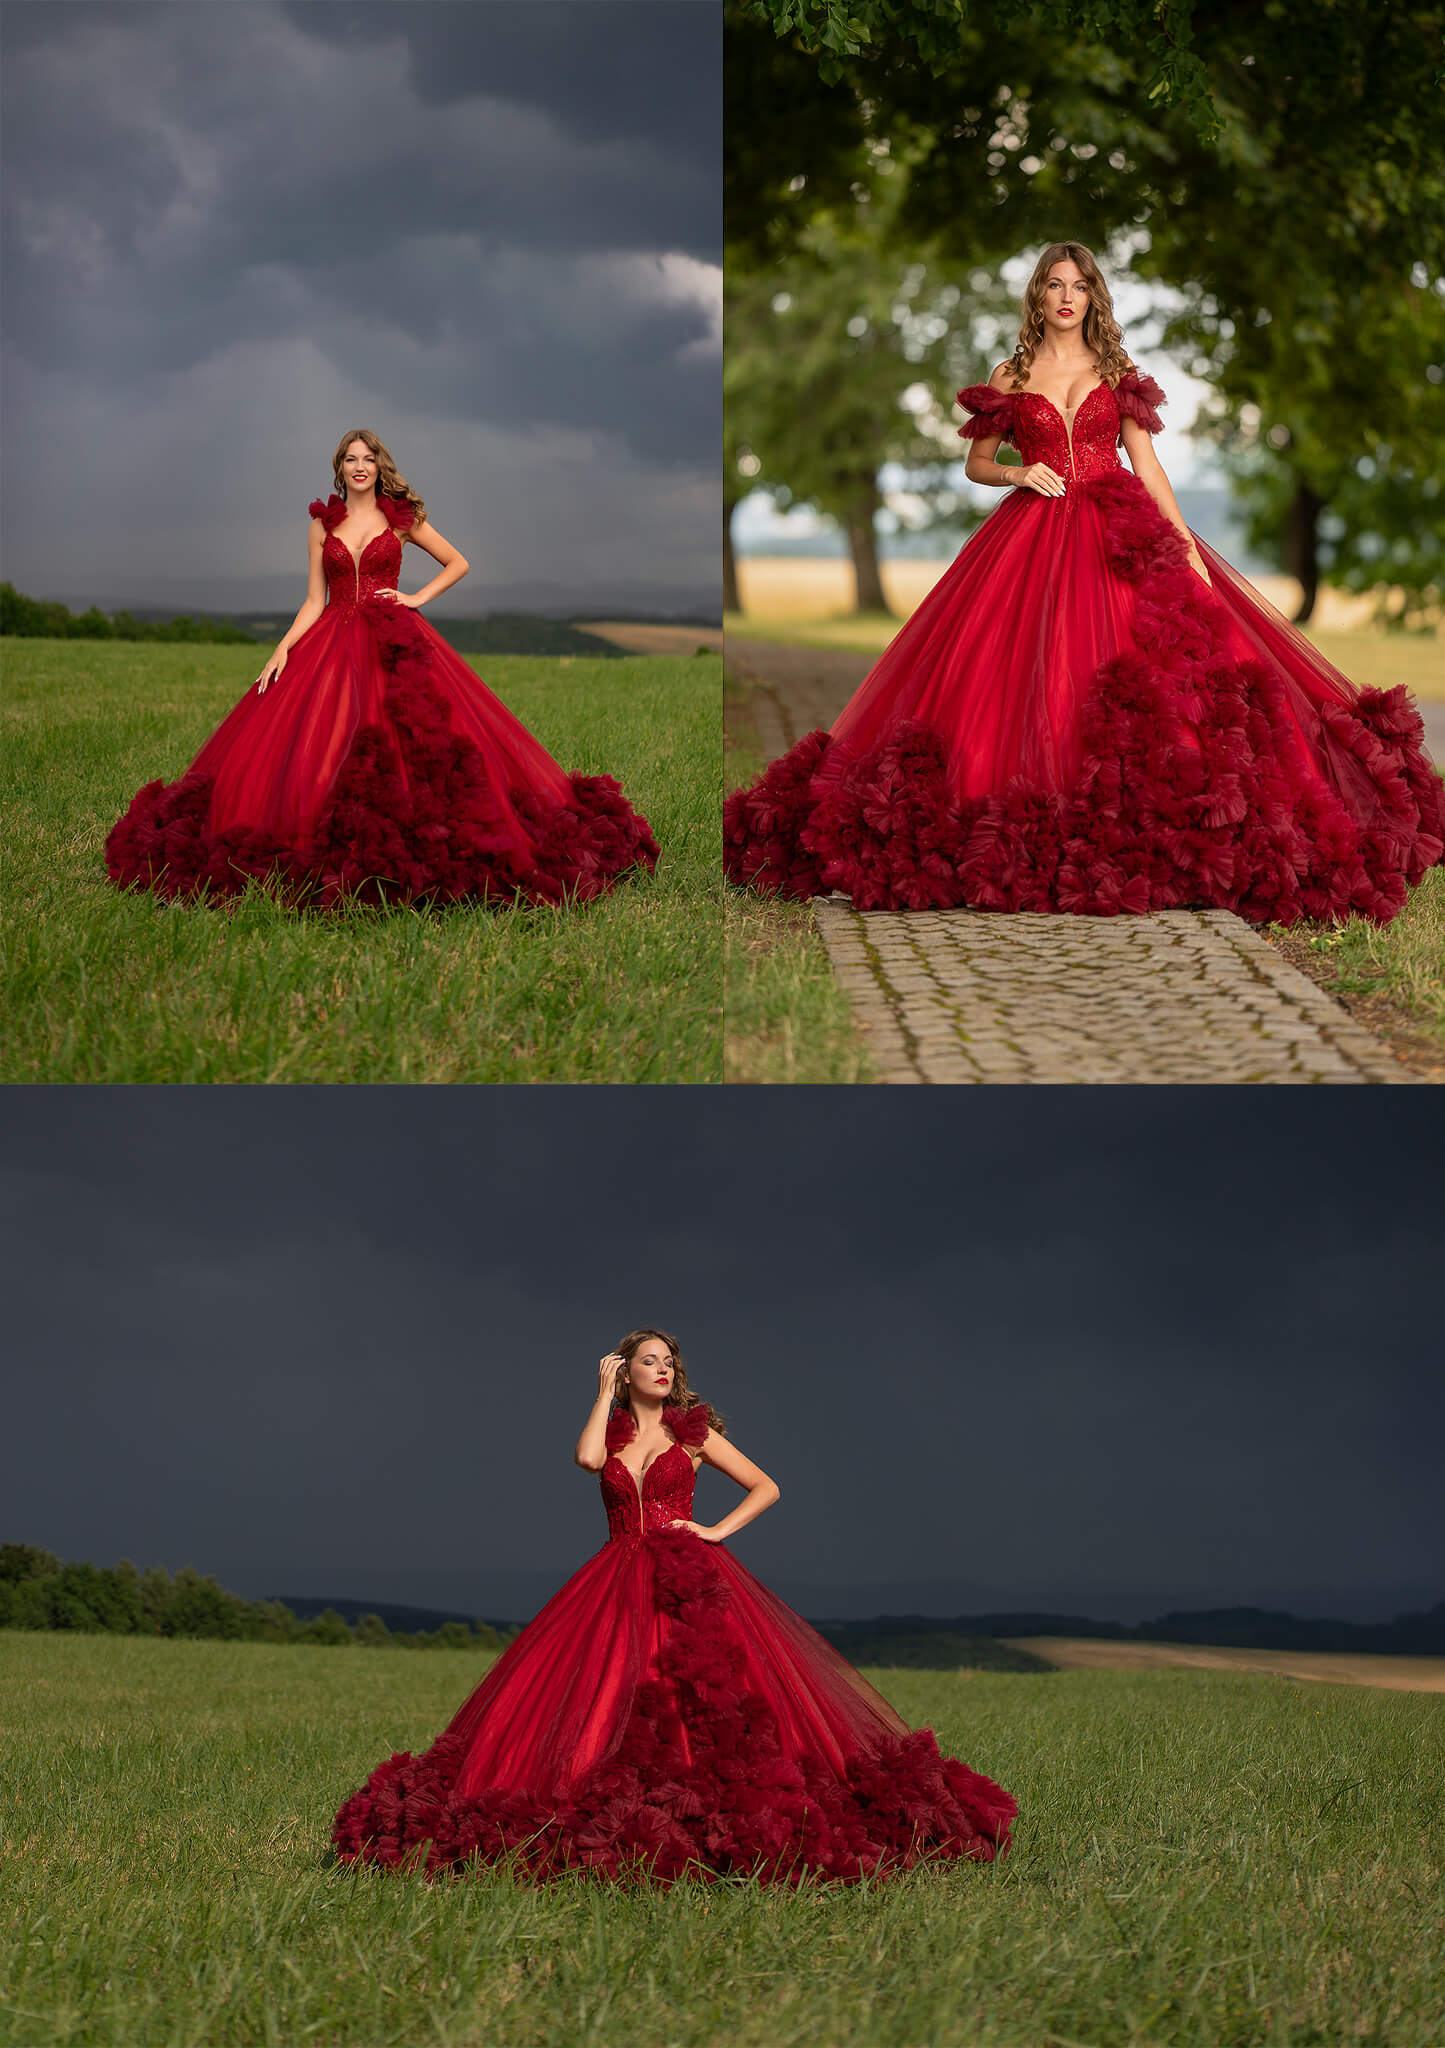
Light can pick up color from the surfaces it reflects off. Grass, foliage, colored walls and even clothing can influence skin tones.
If skin looks green, consider the surroundings before treating the problem as a white balance mistake. Moving away from a strongly colored surface, changing the subject’s orientation or choosing a different opening to the sky may improve the result.
White balance can adjust the overall color of an image. It may not resolve a local cast on one side of the face without affecting areas that already look right. This is one reason I care so much about the shooting location before the editing begins.
Match your settings to the people in front of you
Choose an aperture that gives you enough depth of field for the portrait. A single face and a family arranged at different distances from the camera need different consideration.
Use a shutter speed that handles both camera movement and subject movement. Children can move between the moment focus settles and the moment you press the shutter. Increase ISO when necessary to maintain the shutter speed and aperture the photograph needs.
Check focus and exposure on the actual images. Watch important skin highlights, and remember that a bright-looking camera screen can be misleading outdoors. There is no single set of settings that replaces checking the conditions.
Work with the conditions you have
Golden hour can be beautiful, but natural light portrait photography does not have to depend on it. Covered areas, useful shade and openings between structures can offer other possibilities.
An overcast day still has direction. A clear midday sky can produce challenging overhead light. In direct sun, face angle and shadow placement become especially noticeable. Each situation asks you to observe rather than repeat a location or time without looking.

My Scarlet session breakdown shows how I use changing light in one compact location. The complete Scarlet class lets you follow those decisions on location.
The same kind of decision-making shows up in this natural light maternity session, and if you run into more specific problems — flat faces, harsh shadows, color casts — these five common natural light challenges walk through fixes for each.
Practice finding the light before planning a whole session
Choose one willing subject and one small area. Make a portrait in an open position, then try a nearby position with some overhead or side cover. Keep the framing and expression as similar as practical, and note any exposure changes.
Compare the cheeks, eyes, skin color and background. Ask what changed in the environment and how that change appears in the image. The aim is to understand why you prefer one result.
If you want a shorter starting point, my five natural light tips for beginners cover the essentials.
Learn the decisions behind the finished portrait
Finding useful light becomes much easier when you can watch the photographer assess the scene and explain each adjustment.
Inside my portrait photography membership, you can follow real sessions and learn how light, color, direction, composition and editing work together. Start with the challenge you want to understand, then take that lesson into your next portrait.