
Learning how to use manual exposure settings in photography can feel overwhelming at first. But once you break the process into manageable steps, it becomes much easier to understand and apply. In this post, I’ll walk you through the exact method I used to learn manual settings in a way that builds confidence and consistency.
1. Start by Locking in ISO and Aperture
To simplify everything, I start by locking in two parts of the exposure triangle — ISO and aperture. This lets me focus on shutter speed without trying to juggle all three elements at once.
ISO
I usually set ISO to 100 or 200 to maintain the cleanest image quality. Since I often work in soft, indirect light, it’s easy to stay at these lower values.
Aperture
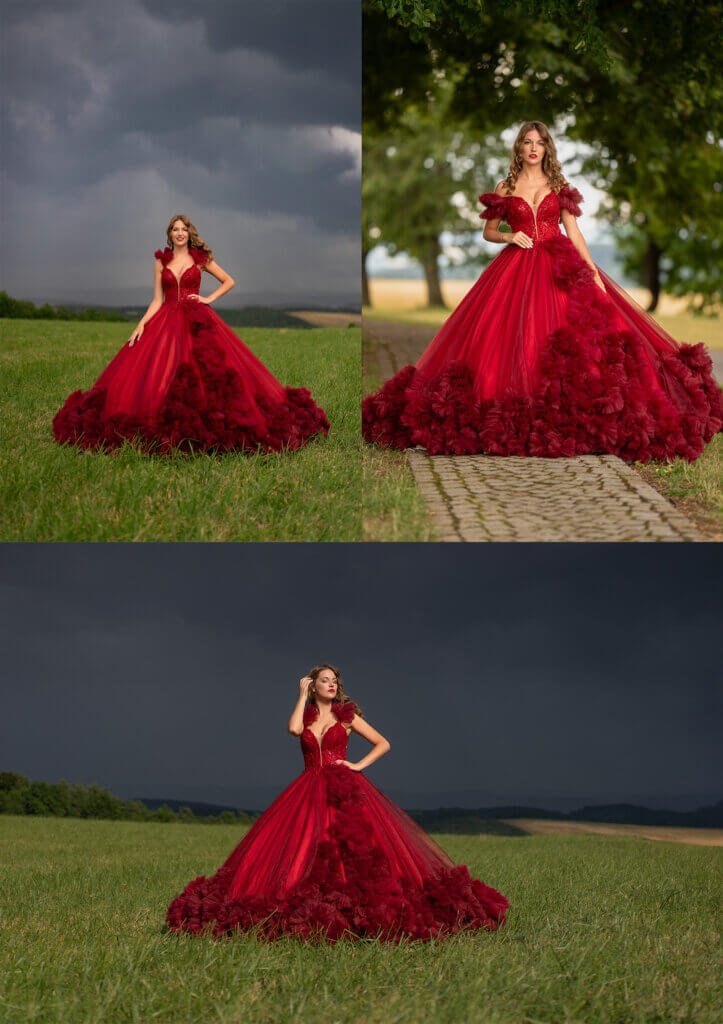
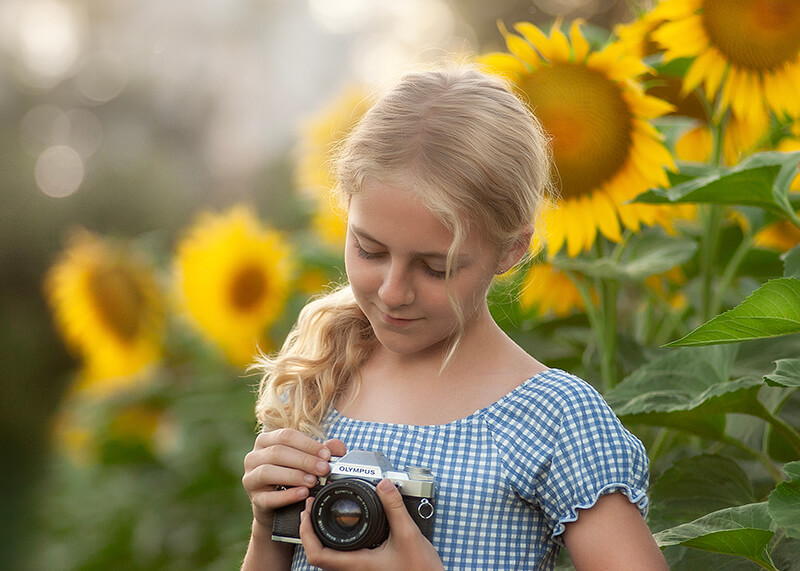
I choose an aperture based on my creative vision or the characteristics of my lens. In most cases, I shoot wide open at f/1.8 or f/2 to gather as much light as possible and create a smooth, dreamy background.
2. Adjust Shutter Speed to Maintain Sharpness
With ISO and aperture locked in, I turn my attention to shutter speed. My goal is to ensure the image is sharp and free from camera shake or motion blur.
My rule of thumb:
Set the shutter speed to at least twice the focal length of the lens. If I’m shooting with a 50mm lens, I’ll use a shutter speed of 1/100s or faster. This simple rule gives me consistently sharp results without much mental strain.
3. Raise ISO Only When Needed
If my shutter speed starts falling below the threshold that guarantees sharpness, I increase ISO — and only ISO.
Example:
If I’m at ISO 200 and notice my shutter speed has dropped to 1/60s, but I want it at 1/100s, I’ll bump ISO to 400 or higher. This allows me to maintain proper exposure without compromising the sharpness of the shot.
4. Common Challenges and How I Manage Them
Bright conditions
If I’m already at my lowest ISO and still getting overexposed images, I’ll increase my shutter speed. If that maxes out, I’ll consider narrowing the aperture slightly to reduce the light entering the lens.
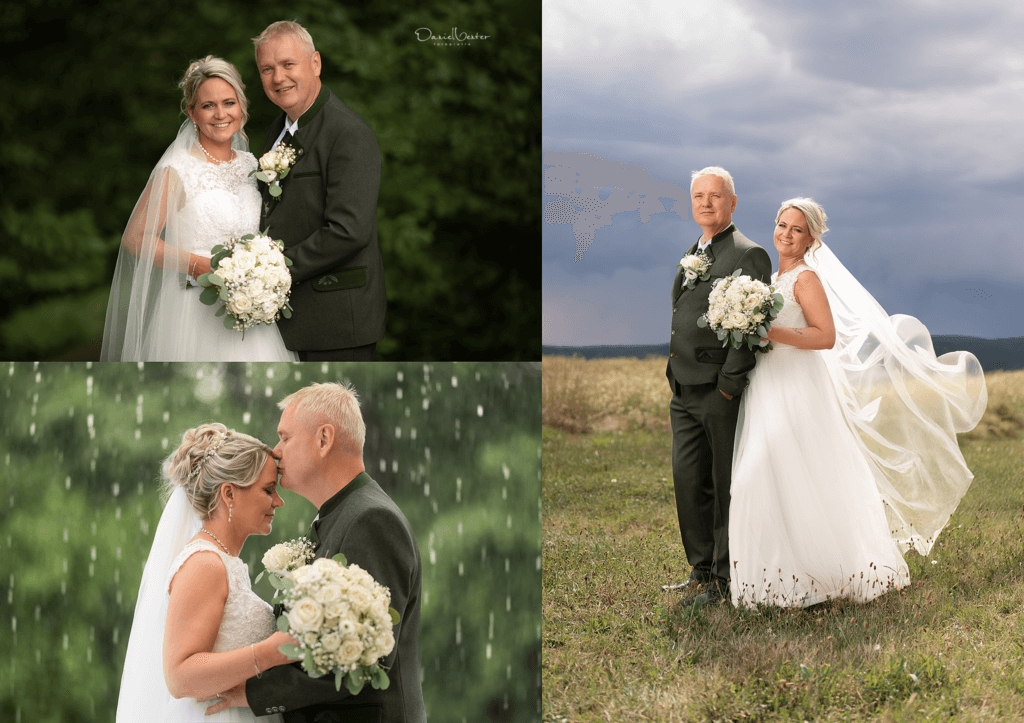
Low-light situations
In darker settings, I rely on wide apertures to let in more light. If that still isn’t enough, I increase ISO incrementally to keep shutter speed where it needs to be.
Capturing motion
When photographing fast-moving subjects like children or wildlife, I always prioritize a faster shutter speed to freeze motion. If I need to raise ISO to make that work, I’m comfortable doing so to get the result I want.
5. Practice and Fine-Tuning
Once I had the basics down, I spent time practicing in different lighting conditions. This helped me build confidence and refine my technique.
Indoors
I practiced shooting in low-light situations, focusing on how ISO and shutter speed affect exposure and sharpness.
Outdoors
I explored how different shutter speeds affect movement and how aperture changes the depth of field. Each shoot gave me more insight into how the settings work together.
6. My Key Takeaway
By focusing on one setting at a time, I simplified the learning process. Instead of feeling overwhelmed, I gradually gained full control over my camera. Manual settings became second nature, and I was finally able to bring my creative ideas to life without relying on auto modes.
If you’re new to manual exposure settings in photography, this approach can help you learn more effectively and enjoy the process along the way. Start with structure, build through practice, and before long, you’ll be creating with intention and confidence.
5 Comments. Leave new
What exposure metering should I set in my Nikon Z7ii for portraits? I have it set for Matrix metering.
Hello Nedra! Im definitely set on Matrix Metering 🙂 I think I could glue in place
would love to know what matrix metering is?
Matrix metering is a camera setting that measures light from different parts of your scene and averages it to give the best exposure for the whole picture