
How to Fix Fly Away and Backlit Hair in Photoshop — A Step-by-Step Guide
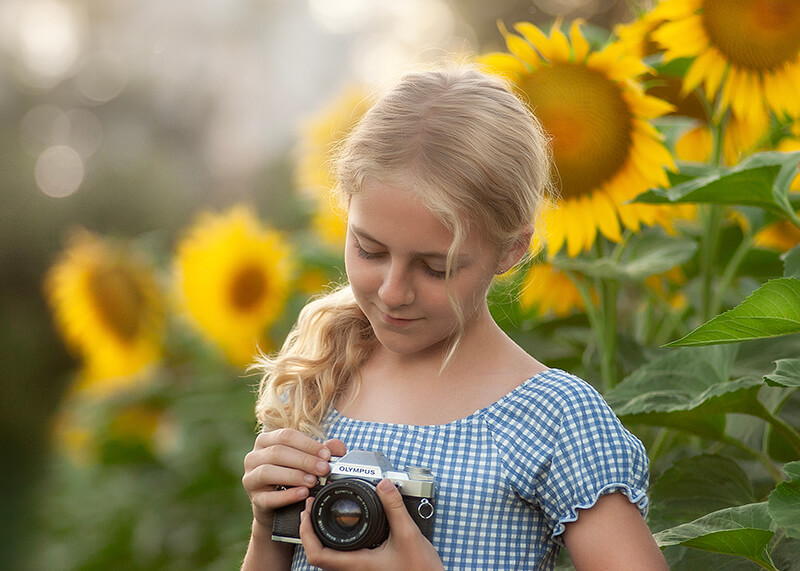
Backlit portraits often have a magical glow, especially when natural light creates a beautiful rim around the subject’s hair. But along with that glow comes a common challenge: fuzzy, flyaway hair that looks distracting or overly saturated. In this tutorial, I’ll walk you through my two-step process to tame backlit hair using Photoshop’s Point Color tool and the new Generative Fill feature.
📸 The Setup: Beautiful Natural Light Meets Real-Life Challenges
In this example, I’m working on a portrait of a mother and her daughters shot in stunning bi-directional natural light. That means the light was coming from two directions:
-
Front light from open blue skies
-
Backlight from the sun filtering through trees
This combination created gorgeous rim light, but also exaggerated all those little flyaway strands and added an intense orange glow to the hair. My goal?
-
Smooth the hairline without making it look fake
-
Reduce the saturation of that glowing rim light
🔧 Step 1: Subdue Over-Saturated Hair Color with Point Color
Here’s how to use Photoshop’s Camera Raw Filter > Point Color tool:
-
Duplicate your background layer (
Cmd+J/Alt+J) -
Go to Filter > Camera Raw Filter
-
Open the Point Color tab
-
Use the eyedropper to click on the most orange part of the hair
-
Click the mask icon to view the selected color range
-
Fine-tune the hue, saturation, and luminance sliders:
-
Narrow the hue range to target just the orange glow
-
Lower the saturation (I reduced mine by -11)
-
Adjust luminance slightly if needed
-
🔍 Tip: Be sure to isolate just the rim light—reduce the range to avoid affecting skin tones or background colors.
✨ Step 2: Smooth Flyaway Hair with Generative Fill
With the saturation fixed, now it’s time to smooth the hairline.
-
Flatten the image and duplicate the layer again
-
Use the Lasso Tool to select fuzzy hair strands along the edge
-
Click “Generate Fill” in the context toolbar (no prompt needed)
-
Review the three AI-generated results and pick the most natural one
-
Repeat for other sections of the hair
🌟 Pro Tip: Don’t remove every flyaway! Leave some natural texture to avoid a “cut-out” look. You can always clean up remaining strands using the Remove Tool for a polished yet realistic finish.
🎯 Final Result: Natural, Clean, and Professional
In just two steps, we transformed this backlit portrait by:
-
Subduing unnatural color saturation from rim light
-
Cleaning up flyaway hair without losing realism
Whether you’re shooting with a Sony A9 and a Sigma Art 135mm f/1.8 (like I did), or just want to clean up your natural light portraits, this method is quick, effective, and keeps your edits authentic.
Thanks for joining me! If you found this helpful and want more tips on editing portraits naturally, check out my portrait photography tutorials or subscribe to my YouTube channel.
— Daniel from Photo Education by Daniel