
If you’re just starting out with portrait photography, mastering natural light is one of the best skills you can develop. Many beginners struggle with harsh shadows, flat images, or inconsistent results because they don’t understand how natural light actually behaves. I’ve built my portrait photography career around using soft, intentional light. These five practical tips will help you create beautiful results without needing extra gear or chasing the golden hour. I’d love to share a few Natural Light Photography Tips for Beginners starting their journey into portrait photography.
1. Find light that comes from one direction
One of the most important things I look for in any location is the direction of light. I avoid flat or overhead lighting and instead seek out areas where light enters from one clear direction. This gives me soft, clean shadows and helps me control the mood of the image.
Tip for beginners:
Look for locations where the light feels like it’s coming through a “giant window”. This could be a spot between buildings in an urban area, or the edge of open shade in a forest. Observing how the light falls on surfaces like tree trunks can help you understand direction and quality.

2. Avoid dappled backgrounds and green color casts
Many beginners make the mistake of shooting under trees at midday. While this may seem like a good way to avoid harsh sun, the result is often uneven, patchy lighting and strong green color casts from the leaves.
Tip for beginners:
Stick to backgrounds that are evenly shaded and where light isn’t shining on foliage near subjects. This is where those green and yellow casts come from, or any other color that light bounces off.
Free Guide
Want to improve your natural light portraits faster?
Download my free Natural Light Guide and learn how I approach light, direction, and consistency when creating portraits outdoors.
3. Use your environment to bounce light naturally
I never use a reflector in my work because of the awesome patterns of light in the locations I choose to shoot in. I’m always looking for open skies behind my shooting location. That said, sometimes one can use light that bounces off objects in the shooting location, for example large white or neutral color walls that create directional light in much the same way as a reflector, but often better because of the size of the surface the light bounces off.
Tip for beginners:
If you’re shooting near a white wall or light concrete, use that to your advantage. Position your subject so that the ambient light hits the wall and reflects softly onto their face. It’s subtle, but it makes a big difference.

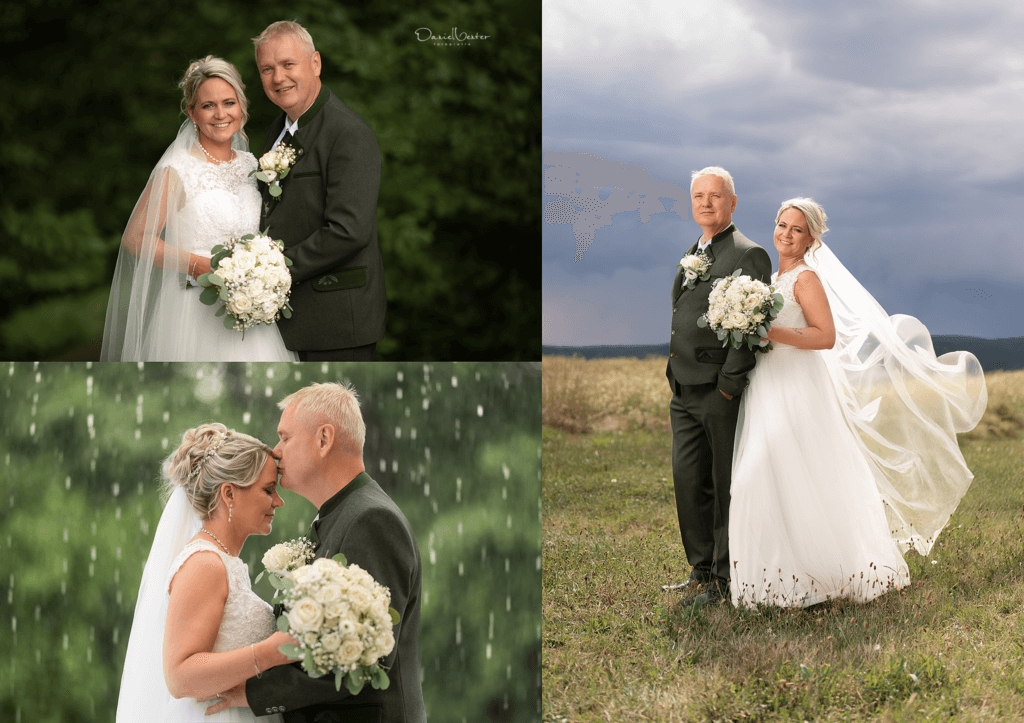
4. Frame your subject inside a light-controlled space
When I shoot on location, I imagine placing my subject inside a “room” where light comes from one side. This imaginary box allows me to control how the light hits them, and it helps me avoid light spilling in from other directions.
Tip for beginners:
Try shooting between buildings, between trees, or beside a wall. Let the brightest part of the ambient light come from one side of the frame. This creates natural depth and dimension in your portraits, even on overcast days.

Watch the full masterclass of this image creation from location to edit HERE
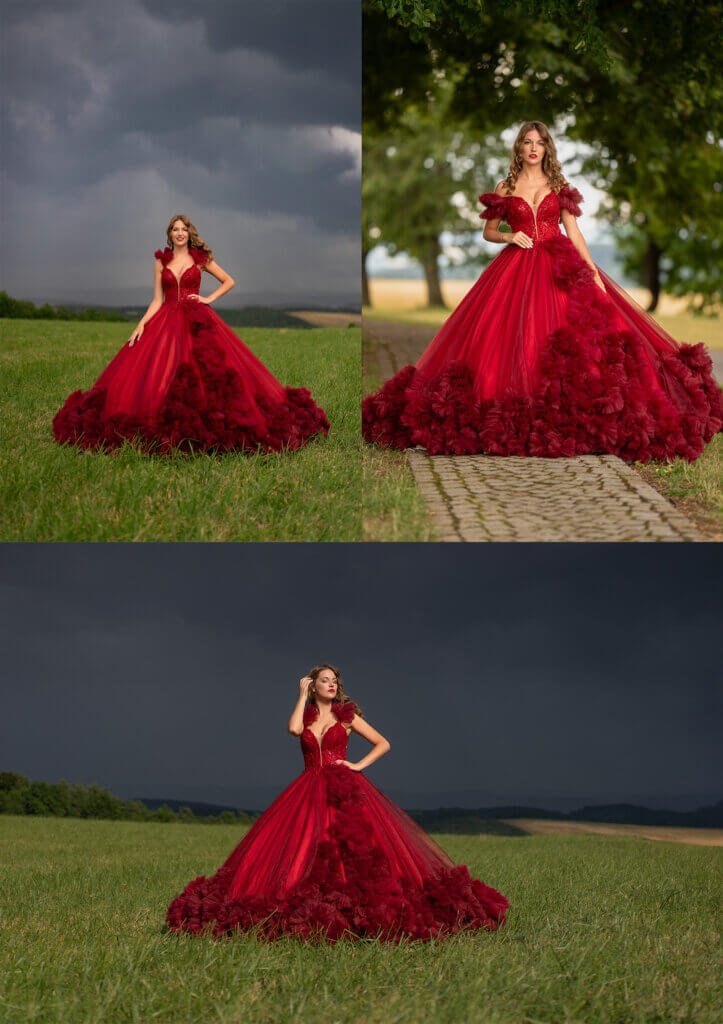
5. Choose darker backgrounds to help your subject stand out
A simple way to draw attention to your subjects is to frame them against a background that is slightly darker than they are. This gives your portrait a sense of depth and contrast that makes your subject stand out naturally.
Tip for beginners:
When composing your image, expose for the subject’s skin and make sure the background is about one to two stops darker. Avoid bright, overexposed areas behind the subject, especially if you want to maintain a soft, dreamy look.
Final thoughts
Learning to use natural light well does not mean relying on golden hour or buying expensive modifiers. It means learning to observe your environment, control your background, and guide the light where you want it. These natural light photography tips for beginners are based on years of shooting professionally, and they can help you create consistent results with any camera.
If you’re ready to go deeper, my full training on natural light portraits is available to members, where I break down how to shoot in different lighting conditions step by step.
