
The Liquify Tool in Photoshop
In this tutorial we’ll become “Digital Plastic Surgeons” I use the liquify tool predominantly for correcting the following in my portraits Slimming down or enlarging…
Class Duration
16 min
Skill Level
Beginner
Inside This Class
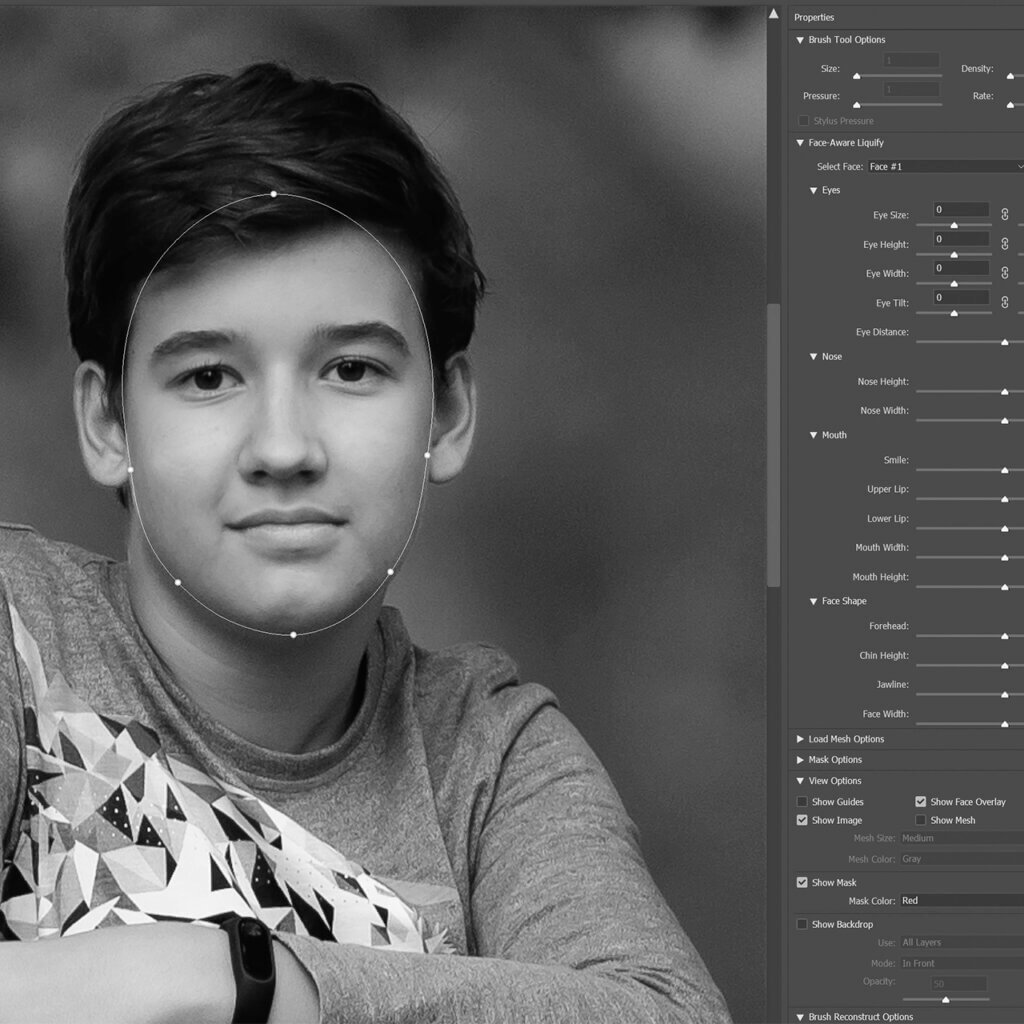
In this tutorial we’ll become “Digital Plastic Surgeons”
I use the liquify tool predominantly for correcting the following in my portraits
- Slimming down or enlarging specific areas of the body, such as the waistline, arms, or legs
- Adjusting the shape or size of facial features e.g jawlines
- Correcting facial asymmetry
- Smoothing out wrinkles in clothing
- Giving hair volume
- “Relaxing” tense shoulders
In this tutorial I will show you the basics of using the tools available in the liquify menu and the two most common tools in my workflow when it comes to editing portraits.
Flexible Access
Watch This Class Your Way
Choose the option that suits you best and start learning right away.
- Instant access to this class
- Lifetime access with individual purchase
- Upgrade to membership anytime
- Full class library included with membership
Membership Access
From
$29/month
Access the full class library and every new class added
Unlock All Classes
4 reviews for The Liquify Tool in Photoshop
You must be logged in to post a review.
Chad Kotter –
Thank you for showing the basics of this powerful tool!
Vanessa Sioen –
A tool everybody should know off, thanks to your education i found this one very educational.
Amanda Paulovich –
Another great tutorial, thank you Daniel!
Clifton Yaney –
Well done, Dr. Venter! This is a good tutorial on applying a useful and powerful tool gently. Thank you!