
This shoot was something special — not just because of the breathtaking dress, but because of how light, color, and timing came together so perfectly. Best of all? It was shot using 100% natural light — no strobes, no reflectors.
Let me walk you through how I approached each setup — and stay tuned, because I’m currently preparing a full behind-the-scenes tutorial on this exact session.
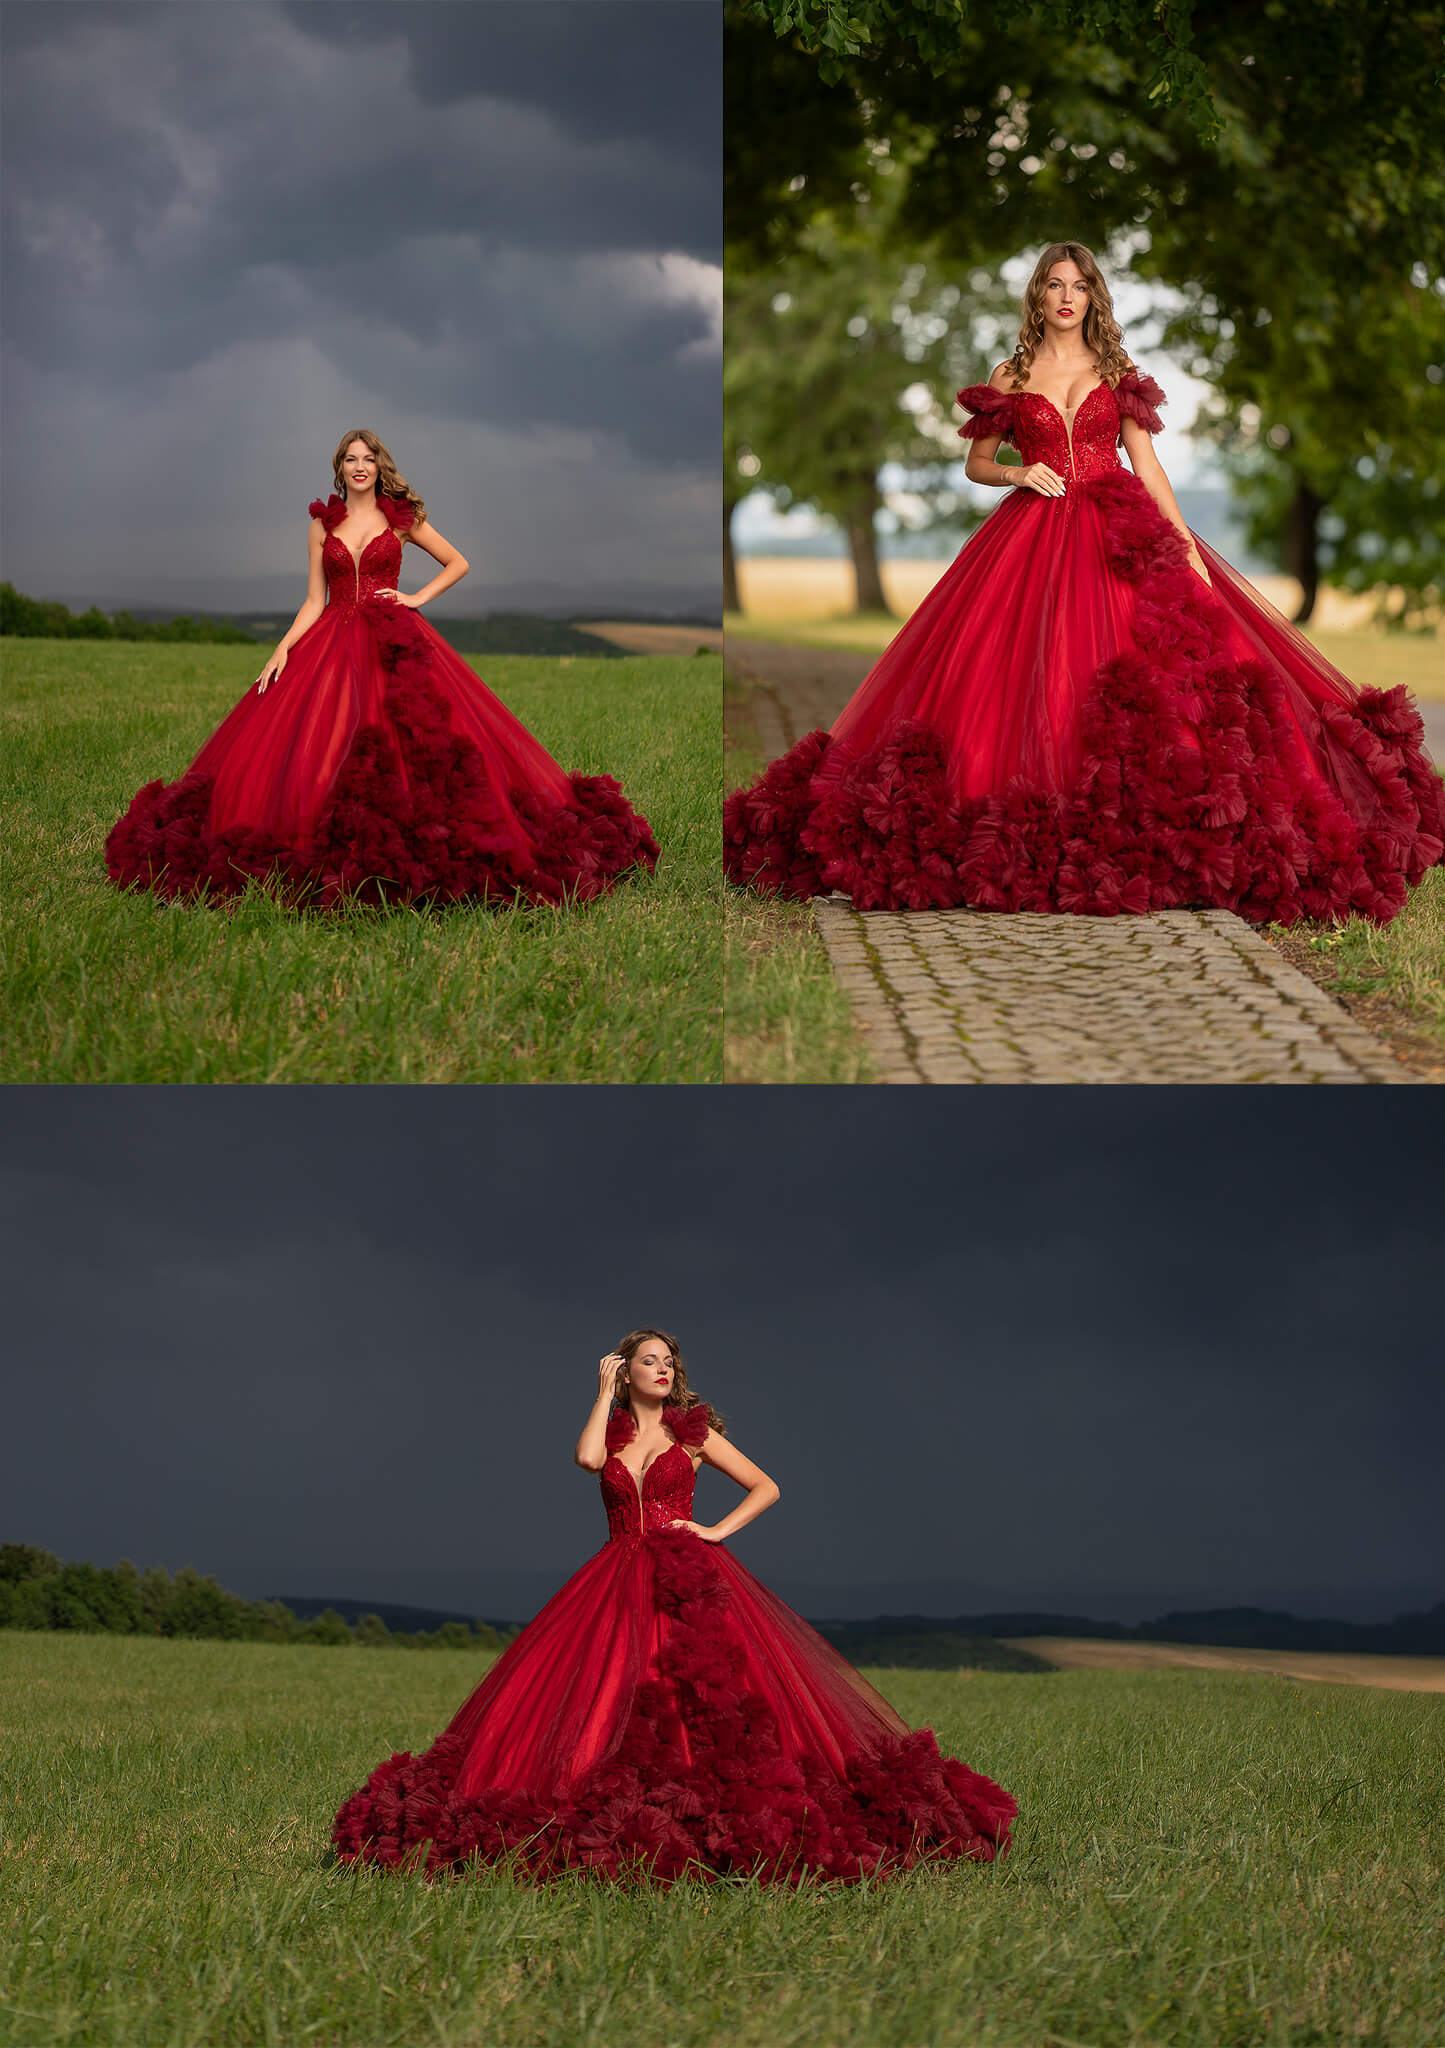
1. The Calm After the Storm
In the first image, a dramatic storm had just passed behind the subject. Behind me? Clouds partially diffusing the sun beautifully.
This gave me gentle but directional light, perfect for defining facial features without harsh shadows. I faced my subject into this natural light source to get the most flattering results.
Shot on the Sony A9 + 55mm f/1.8, I intentionally framed to maximize the contrast between the vivid reds of the dress and the cool blues of the distant storm.
2. Sculpting with Indirect Light
Next, I moved her into indirect light — under the trees — and switched to the 135mm f/1.8 Sigma Art. I used the environment to create a natural “room” of light, where the main source was coming from behind me, and a soft rim light peeked in from behind her.
The result? A glowing silhouette and a calm, romantic atmosphere — all without touching a single light modifier.
3. Owning the Harsh Sunlight
Finally, the sun broke through. Rather than avoiding it, I used it. With intentional posing and placement, I turned direct sunlight into mood and drama, positioning her so the light fell beautifully across her face.
The golden warmth of the red dress against the dark sky gave me everything I needed.
🎯 And the Response?
The moment we posted these images online, we received 4 portrait bookings in just 2 days. It had an instant impact thanks to planning, understanding light, and creating visual emotion.
📸 Coming Soon: Full Behind-the-Scenes Tutorial
I’m currently putting together a full tutorial breaking down this shoot, from lighting decisions to posing, camera settings, and how we created these different light patterns within the same general location. You’ll get to see exactly how we work behind the scenes to create results like this.
If you’re ready to master natural light, elevate your portraits, and learn the craft behind impactful images, this is exactly what I teach in my platform.
👉 Explore all my portrait photography tutorials:
www.photoeducationbydaniel.com/membership
2 Comments. Leave new
These are STUNNING and the blog was really helpful!
Thank you so much! I’m glad you found value in the post! More to come! Enjoy the coming tutorial where you’ll see me in action behind the scene! It’s an eye opener! (Even for me)